Building a Strong Practice Using Props
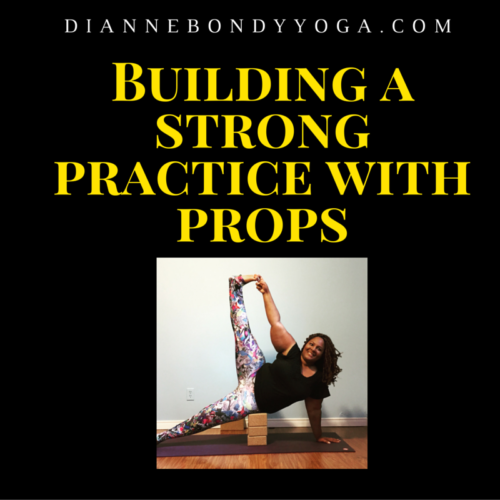
Some people believe that props are for people who can’t do the poses as they are meant to be. I feel sorry for those people, they’re missing out on using these tools that can help you get the most out of your practice.
I created this short 8-minute flow for you. Grab your blocks (or whatever you use to substitute, i.e. books or cans) and practice along with me!
I’ve got different kinds of blocks in here today. I’ve got my cork blocks, which are my favorite. They have texture, so they’re not slippery when I put them on my mat, and they’re dense and heavy, so I feel supported when I use them.
I also like to use foam or sponge blocks as well. It’s good if I’m sitting on them or propping them under my hip because they’re not as thick, not as dense, and they have a little bit of give.
I wanted to show you some of the ways you can use your blocks during a vinyasa flow. This is an effective practice for those of us who have different bodies or larger bodies. I am moving away from using the word modifications to using the word variations. Sometimes I think there is a negative connotation attached to the word modification, and sometimes people feel like they’re not doing real yoga, real asana or yoga because they’re doing a modified pose, or they’re using a chair, or they’re using the wall. There are as many variations of a pose as there are yoga poses and people and bodies.
There is no singular expression of the pose there is only your expression of a pose. I love props. Props were introduced to this practice by Mr. Iyengar. He understood that every body is shaped and performs differently. Sometimes we just need a little assistance getting into the poses. I am changing the frame of reference from modification to variation. I have to catch myself I have to make a conscious effort to change that word because I’ve been using that word for a very long time. I want to show you just a quick vinyasa flow, just a warm-up, something you can do in the morning. It’s five minutes, and you can just complete this flow a few times to get the desired amount of time that you want to practice.
I will just show you some of the ways you can use your blocks to make your practice more accessible. I am going to start with my cork blocks at the top of my mat, about the distance that I would put my hands apart. The distance of my hands is in line with my outer shoulder. My outer shoulder lines up with the center of the wrist, and the crease of the wrist is parallel to the top of the mat. That gives me a solid foundation for my practice. It’s also useful for opening the shoulders. This is also good if you tend to have sore wrists, if you have arthritis in your wrists, Using Blocks can help build your carpal tunnel strength. Blocks can be used to strengthen the muscles in your wrist and your forearms. Start with a few cat-cows. I like to open up my shoulders. A little tip for your cat cow move your feet back behind your sitting bones to get some length on the sides of your waist that will give you more room to move.
If you’re in a larger body this is especially liberating to have a little more space to move your body. So I’ve done a few warm ups here okay. I’m going to have my toes curled under with my left leg straight out behind me, I’m walking the blocks back, and lower my chest to the floor. This is really good for strengthening the arms opening the shoulders. As I lower down, I’m squeezing between my shoulder blades as I push up. Now walking the blocks over to the right I’m going to step my left foot forward, take my blocks swing them around my heels, lift my back leg up and come into a lunge.
You can stay in this particular variation of lunge if you’d like. I can add to it by pressing down onto my right block and by lifting and moving my belly up at the waist so I can do a twist by taking my left arm up. Or, if I’m feeling stable I can inhale come up and do a full lunge pose. Taking my hands back down to the blocks I’m going to step back to downward facing dog using the blocks pushing my heels back lifting my arm bones. Move forward to plank pose lowering all the way down to the knees coming back to my cat cow. Coming back to a flat back walking my blocks over to the edge of the map stepping right foot forward the taking my blocks and framing my foot. I can stay here and twist and sometimes I just lift and move my belly, so I have a little more space okay. Or push into the blocks lift the back knee up go into my twist. I feel stable here I can inhale come up and take a big lunge.
The option is yours, hands back to the block push back to down dog. Come forward to plank, lower my knees down and do a little bit of chaturanga building. So go down half way, come up. Remember you can go as far or as high as you want, you get to determine the challenge. Let’s take it from the top. Walking my blocks up, let’s start cat cow. Soften the belly, roll and I squeeze between my shoulder blades here, good.
Now walk you blocks over to the left, step you right foot forward and choose your lunge. Plant your hands on the blocks, step back to down dog, come forward to plank, lower my knees down and do three chaturanga pushups, one, two, three. Walk the blocks over to the right step left foot forward, frame my foot. Option one to stay down option two lifts the knee; add the twist for option three.
Do what feels right, come back to my blocks step back to down dog, good. Forward to plank. Lower the knees, and do three chaturanga pushups. So you can walk your knees back, hug your elbows into your ribcage and plank down. If you want more can start again from the top. Starting again with cat cow, lunge, down dog, right plank, lower knees, then push ups, so you can do that as many times as you like. It’s a challenging practice but it’s an accessible practice. See you next time on the next video.
Namaste.

 Three Poses to Help You Relax and Get Your Best Nights Sleep
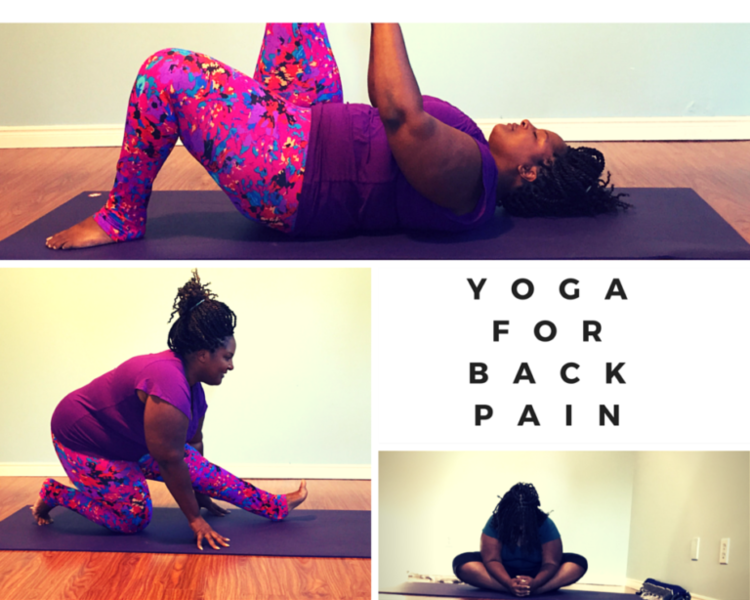
Leave a Reply
You must be logged in to post a comment.